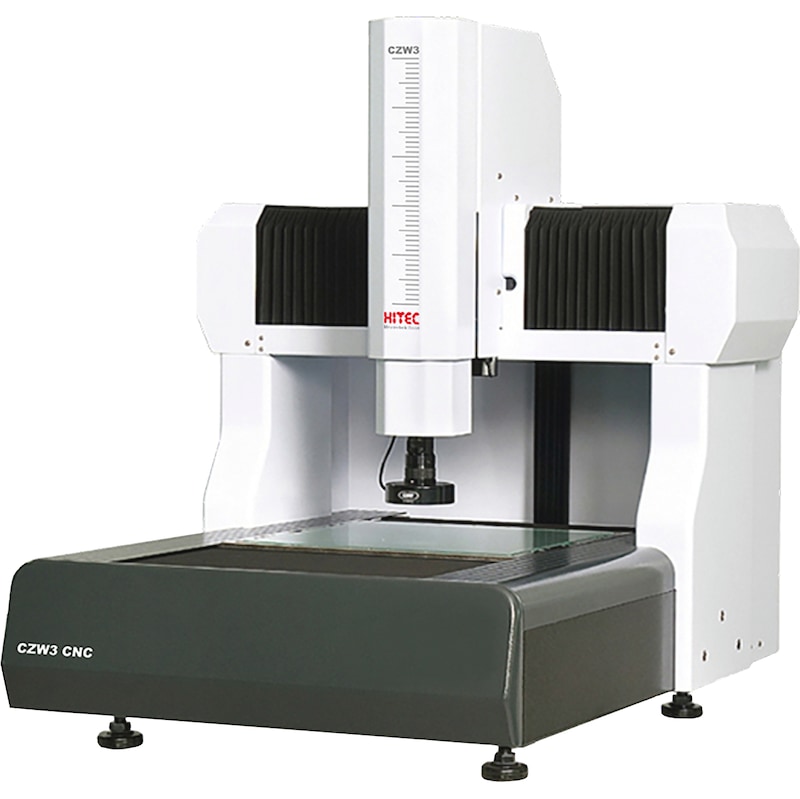
For detailed information, other images and documents, please select individual articles from the following table.

Video measuring microscope CZW3 CNC
Motorised cross table movement
You need more information or have not found your desired product?
Products
You need more information or have not found your desired product?
Application
For optical measurement of components that cannot or cannot easily be measured using tactile (contact) methods.
Execution
- 23-inch touchscreen PC with MS Windows operating system
- Granite base plate DIN 876 Gen. 0
- Motorised zoom lens 0.7-4.5x
- Four-segment LED ring light and LED transmitted light
- USB 3.0 camera with 1.3 megapixel resolution
- Measuring table with Renishaw measuring system
- Floor unit made of sheet steel
- MetLogix M3 measurement and analysis software
Advantage
- Intelligent image processing for measuring standard 2-D geometries
- Clear geometric functions without hidden submenus
- individual illuminance control for incident and transmitted light
- Free axis alignment of the workpiece being measured
- M3 software: automatic edge detection, tolerance test in line with DIN/ISO, element view with tolerance input, component view with dimensioning, live image display during measuring, additional storage of images for your documentation
Select RAL-colour code
!! NOTE: On-screen visualisation of the colour differs from real colour shade!!


